How to Float on Your Back: A Lifesaving Swim Skill for All Ages and Abilities
Learning how to float on your back is an essential part of every child’s formative years. It’s also the easiest way to prevent exhaustion and panic in dangerous water situations.
Let’s go over the basics of learning this lifesaving swim skill and coaching beginner swimmers to feel comfortable doing it.
Why Floating on Your Back is a Lifesaving Skill
Floating on your back is a basic swim skill taught and used worldwide. Being comfortable floating on your back is key to staying safe in all kinds of water encounters.
- It is a universal skill and lifesaver for all ages.
- It is adaptive and inclusive for everyone’s abilities.
- It reduces panic in emergencies and conserves energy.
- It allows the swimmer to breathe normally and reduces anxiety.
- It helps the swimmer stay aware of their surroundings and call for help.
- It increases endurance and survival odds in open water.
Once the skill is learned and practiced, it becomes a solid defense against water emergencies.
When and Where You Might Use Back Floating
Back floating is an energy-saving position in which to handle stressful situations in any type of water.
You can:
- Take a break from swimming to relieve fatigue and muscle cramps.
- Provide an intuitive way for children to manage accidental encounters with water.
- Use it to manage unpredictable water conditions, boating accidents, unexpected falls, and other emergencies.
- Soothe and relax your body, reboot your thinking, and problem solve.
Step-by-Step Guide: How to Float on Your Back
Learning how to float on your back can be challenging. However, everyone can master it with proper patience and practice.
1. Start in Calm, Shallow Water
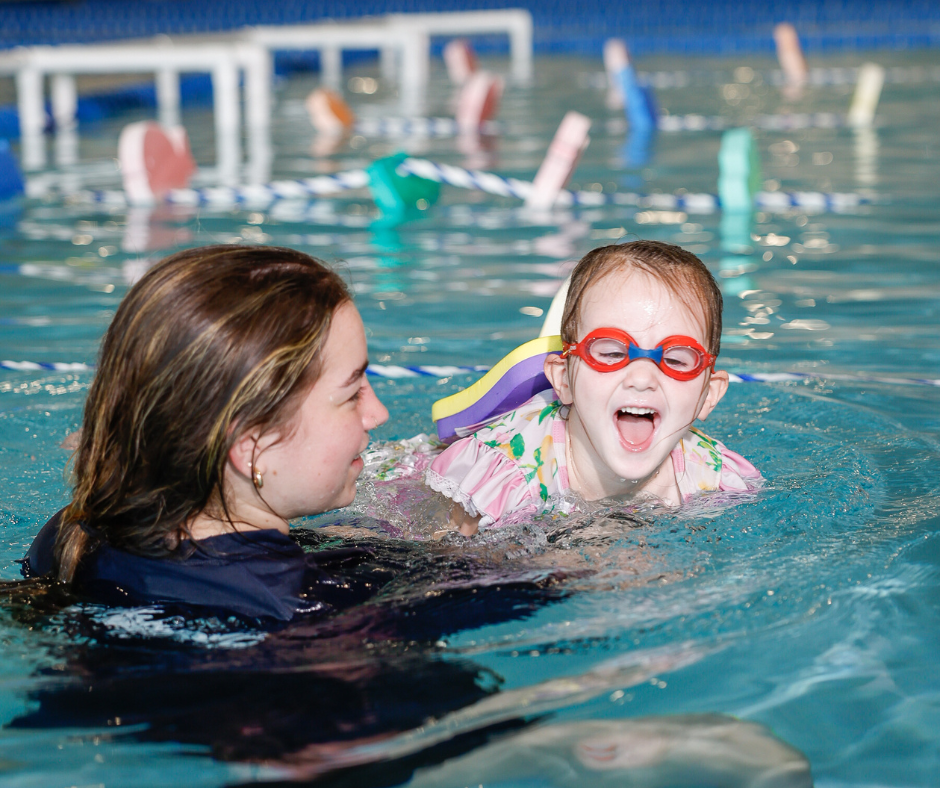
Your first priority is to ensure comfort and safety. Make sure the water is calm and shallow enough that the you can return to standing easily. Practice near a wall or other safety feature, and always maintain strict supervision of the learner.
2. Relax Your Body
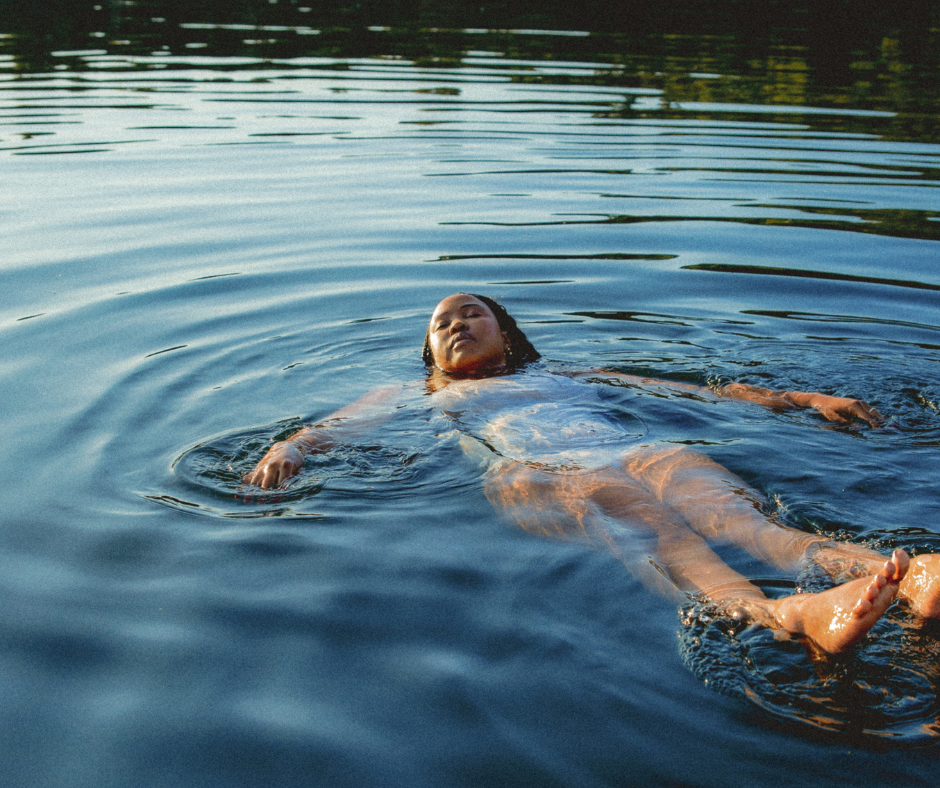
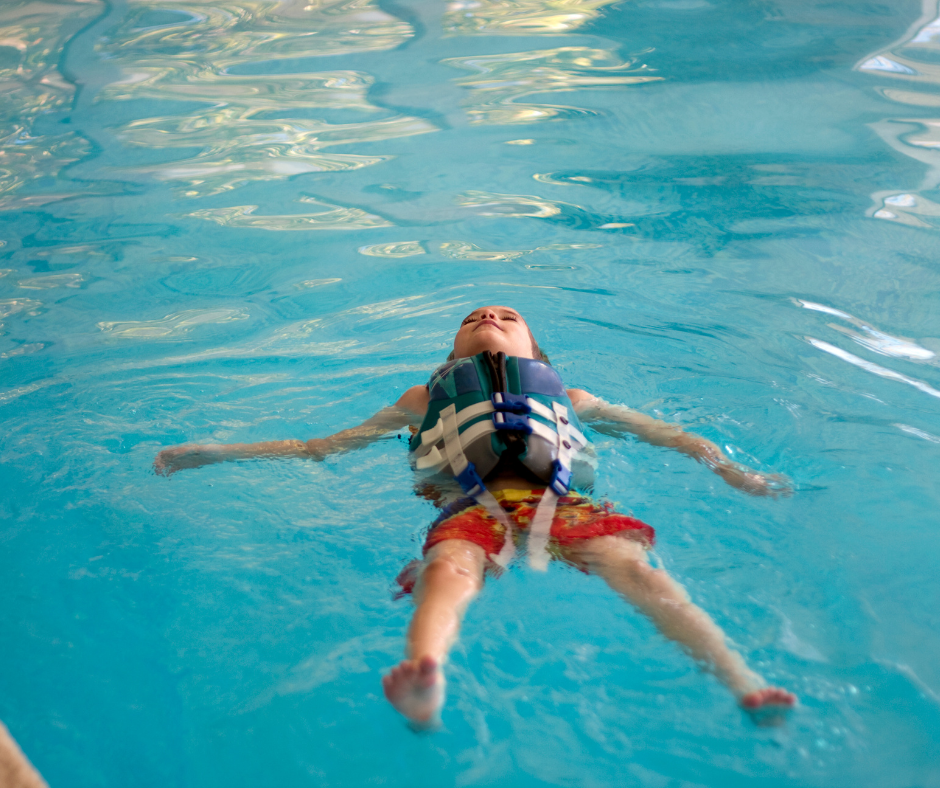
Make sure you are comfortable and relaxed before attempting to float. Tension makes floating harder. Then, let your head rest back in the water to about the level of your ears.
3. Position Your Limbs
Once you are comfortable with your head back, slowly spread your arms out like a starfish and begin letting the water take some of your weight.
Be calm and relaxed as you allow your legs to rise to the surface of the water. They should be slightly apart.
4. Look Up and Breathe Steadily
Look up. Keep your chin slightly up from your body and choose a spot above you to focus on.
Take slow, deep breaths to help keep your body and mind calm.
5. Use Gentle Movements to Stay Balanced
Feeling unbalanced is a very common feeling until you become more confident. If you feel as if you are sinking, it's okay to make adjustments.
- Keep your head and eyes pointed up.
- Adjust your back and hips to stay above your lungs.
- Use small arm and leg movements to help maintain your balance.
- Try not to splash or make sudden movements.
6. Getting Back Up
Learning how to get up from a back float can also be stressful and takes a little practice. Controlling your movements is the key to a calm recovery.
- Keep your head and eyes pointed up.
- Begin bringing your head up out of the water.
- Use your stomach muscles to help curl your head up, bend your knees, and bring your legs toward your chest.
- Push your hands down in the water.
- Your bottom and hips will guide the downward movement.
- Your body will naturally return to standing as you bring your arms back in line with your body, relaxing your hips and knees back down.
Common Challenges & How to Overcome Them
It takes a little time and gentle reassurance to gain the confidence needed to relax and float. If you or your loved one is struggling, appropriate guidance can help. Common challenges include:
Fear of Sinking
- Stay close to the learner, providing comfort and safety.
- Ensure the water is calm and shallow.
- Get help from a swim aid or instructor as needed.
Sinking Hips
- Try using your stomach muscles to gently push your hips up out of the water, above your lungs.
- Maintain proper hip alignment with your head.
- Use your arms and legs to make a “starfish” shape to adjust your balance and depth in the water.
Breathe Normally in a Relaxed Manner
- Model steady breathing.
- Coach the swimmer to count or otherwise focus on calm breathing patterns.
Tense Muscles
- Use a gentle voice and encouragement.
- Play calming music.
- Make sure the water is at a comfortable temperature.
- Guide them in focused relaxation.
Why Swim Lessons Make a Difference
Did you know that every person will master and execute floating a little differently? It is a universal skill that takes individual mastery. A professional swim instructor provides personalized instruction and feedback that matches the skill and needs of the learner.
This is especially helpful when your child has unique abilities and challenges that need to be addressed for appropriate swim instruction. Big Blue Swim School proudly offers adaptive swim lessons tailored to the child's real-time needs, strengths, and abilities. Ask about these specialized lessons if you have concerns about your child’s needs for a positive learning experience. We’re happy to help!
At Big Blue, we use proven methods to help every child learn to float effortlessly. Our dedicated, caring instructors provide a calm and relaxed learning experience in a fun, structured way.
Begin a Positive Swim Experience with a Free Trial
Discover why the best option for your child’s swim lessons is with Big Blue—book a free trial today!